What do you need to do gel nails at home?
To do gel nails at home successfully, you need: a 36W or 48W LED nail lamp, a 240-grit fine buffer, stainless cuticle pusher, 99% isopropyl alcohol dehydrator, acid-free bonding primer, soak-off base coat, gel color polish, and a glossy no-wipe top coat. Proper dry preparation is the secret to 3-week wear.
1. Essential At-Home Equipment Checklist
Setting up an at-home nail station requires the right tools. Using makeshift household items like cotton balls or standard nail polish removers will ruin your results. Here is the verified toolkit required for salon-grade manicures:
- 48W Dual-Wavelength LED/UV Lamp: Equipped with dual chips emitting both 365nm and 405nm light.
- 240-Grit Fine Nail Buffer: To gently de-shine the natural keratin plate without thinning it.
- Stainless Steel Cuticle Pusher: Ergonomically shaped to clean the proximal nail fold.
- 99% Pure Isopropyl Alcohol: The gold-standard chemical dehydrator for removing oils and moisture.
- Lint-Free Wipes: Cotton balls leave microscopic fuzzy fibers that get trapped inside sticky gel layers.
- Acid-Free Bonding Primer: Leaves a micro-adhesive covalent anchor for the base coat.
- Rubber Base Coat: A flexible, self-leveling base coat that bends with the natural nail.
- Gel Color Polish: High-pigment, salon-grade soak-off formula.
- No-Wipe Gel Top Coat: Cures to a rock-hard, diamond-shine finish without needing an alcohol cleanse.
- Pure Jojoba Cuticle Oil: For essential post-manicure hydration.
2. The Clinical Dry Prep Protocol (The Secret to Zero Lifting)
More than 90% of premature at-home gel peeling occurs because of improper prep. Follow these golden rules before touching polish:
- Zero Water Exposure: Never soak your fingers in water before a gel manicure. The natural nail plate is composed of 100 to 150 compressed layers of keratin that act like a sponge. When soaked, the nail plate expands by up to 15%. If you apply gel over an expanded wet nail, the plate shrinks as it dries over the next 24 hours, snapping the bond and causing the gel to peel in sheets.
- Push Back the Cuticle Pockets: Gently push back the living skin (eponychium) using your stainless-steel pusher at a 45-degree angle.
- Remove Dead Pterygium Tissue: Scrape away the invisible, transparent dead skin cells attached to the base of the nail plate. Gel polish cannot adhere to skin; applying gel over pterygium causes immediate lifting at the cuticle line.
- Light De-Shining (Vertical Buffing): Take a 240-grit buffer and lightly buff vertically along the natural grain of the nail plate. You are only removing surface sebum; do not file down the nail plate thickness.
- Double Alcohol Cleanse: Scrub each nail plate with a lint-free wipe soaked in 99% isopropyl alcohol until it makes an audible squeak.
3. Step-by-Step Professional Application Guide
With your nails prepped, execute your application in precise, paper-thin coats:
- Step 1: Acid-Free Primer: Swipe a minimal amount of primer along the free edge and stress zone. Let it air-dry for 30 seconds until matte or tacky.
- Step 2: The Base Coat Slip Layer: Wipe excess base coat from the brush neck. Place your brush 2mm away from the cuticle, push back gently to create a clean 1mm margin from the skin, then pull forward to the tip. Cap the free edge. Cure for 30 seconds.
- Step 3: Color Coat 1 (Whisper Thin): Apply your first color coat. Do not worry if it looks slightly streaky; thin coats cure more thoroughly. Cap the free edge and cure for 60 seconds under your LED lamp.
- Step 4: Color Coat 2 (True Opacity): Apply your second thin coat to achieve rich, streak-free color. Cap the tip and cure for 60 seconds.
- Step 5: High-Gloss Top Coat: Float a smooth layer of no-wipe top coat over the center of the nail. Allow it to self-level for 5 seconds, then cure for a full 60 seconds.
4. The Sticky Inhibition Layer Explained
Beginners often panic when their base coat and color coats come out of the lamp feeling sticky. This tacky surface is known in chemistry as the oxygen inhibition layer.
When UV/LED photons strike photoinitiators, atmospheric oxygen molecules on the very surface of the polish react with the free radicals, temporarily blocking the top 5 microns from polymerizing. This sticky layer is completely normal and intentional—it acts as an adhesive bond for the next layer of polish to grab onto! Never wipe away the sticky layer between color coats; only wipe the final topcoat if using a traditional wipe-off formula.
Curing Lamp Wattage & Photobiology Benchmark
| Lamp Category | Power / Wavelength | Average Cure Time | Clinical Safety Verdict |
|---|---|---|---|
| Mini USB Pocket Lamp | 6W – 9W (Single Diode) | Incomplete cure | Dangerous: High risk of contact allergy |
| Standard Entry Lamp | 24W – 36W (395nm LED) | 60 – 90 Seconds | Acceptable for sheer/translucent gels |
| Professional Salon Lamp | 48W – 54W (365nm + 405nm) | 30 – 60 Seconds | Optimal: 100% molecular cross-linking |
5. Why Your DIY Nails Lift (And How to Fix It)
If your at-home manicure lifts after just a few days, here is how to diagnose the cause:
- Lifting at the Cuticle: You flooded the cuticle skin or applied polish too close to the eponychium. Maintain a 1mm gap on all sides.
- Lifting at the Free Edge: You forgot to cap the edge with base, color, and top coat. When typing or washing dishes, water seeps into the unsealed edge.
- Wrinkled or Bubbly Polish: The color layer was painted too thick, or the curing lamp has weakened diodes. Always paint two thin coats rather than one heavy layer.
- Chipping on the Corners: Your nail shape may have sharp 90-degree corners that snag. Consider switching to an Oval or Round Shape to disperse impact shock.
6. Damage-Free Home Soak-Off Protocol
Never peel or pry your gel polish off! Use the Cotton & Foil Soak-Off Method:
- Use a 150-grit hand file to break through the shiny top coat until the entire nail surface is chalky and matte.
- Soak small cotton balls in 100% pure acetone.
- Place cotton on the nail and wrap securely with aluminum foil strips.
- Wait 15 minutes. The gel will blossom into soft flakes.
- Gently push the crumbled flakes away with an orangewood stick. If any spots resist, re-wrap for 5 minutes.
7. Post-Manicure Lipid Therapy
Acetone temporarily removes natural lipids from your nail plate. Immediately apply pure unrefined jojoba oil to the nails and cuticles to restore cellular flexibility. Read our full clinical recovery routine in our Nail Health & Recovery Therapy Guide.
Related In-Depth Articles & Tutorials
Expert-tested guides on nail health, salon techniques, and at-home manicure care.
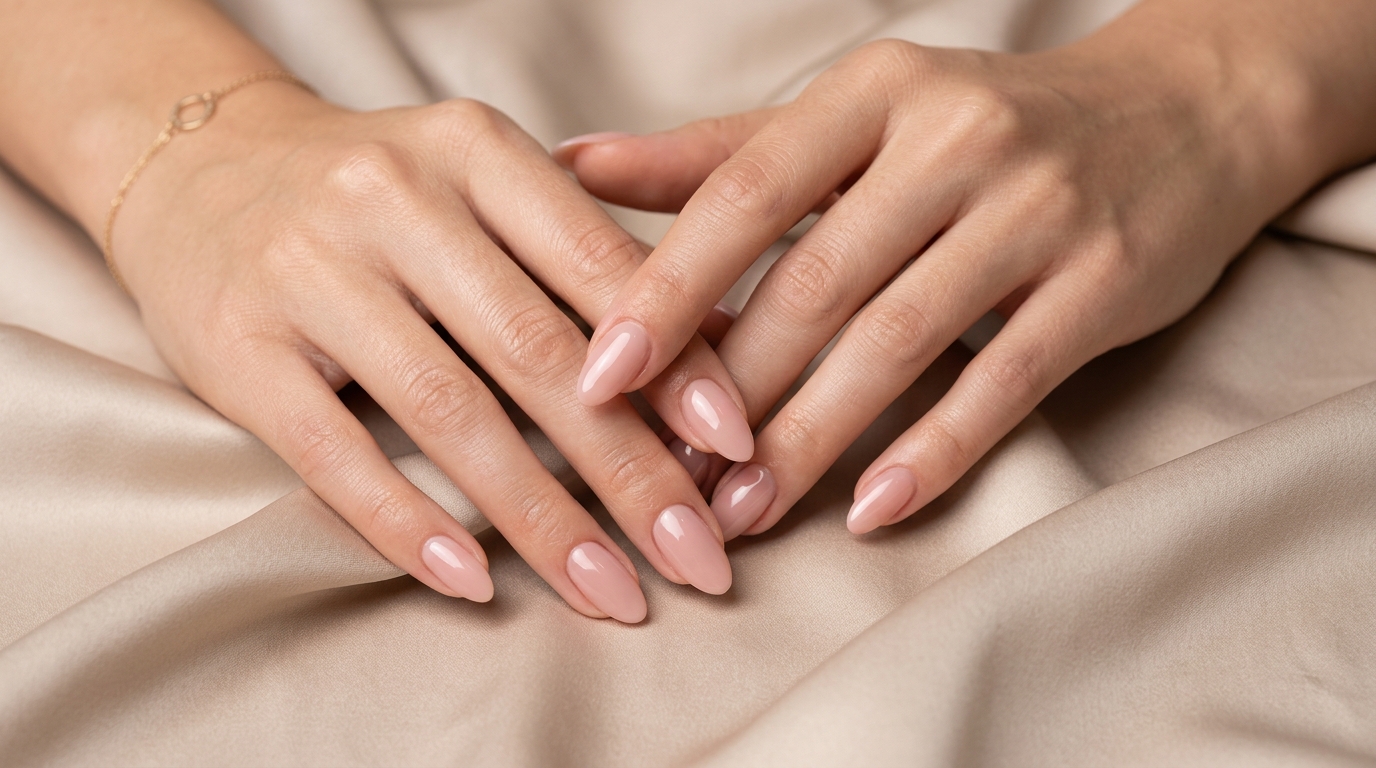
The Ultimate Gel Nails Guide: Science, Application & Care
Our complete master resource on gel manicures, UV/LED curing chemistry, salon vs. DIY longevity, and natural plate preservation.
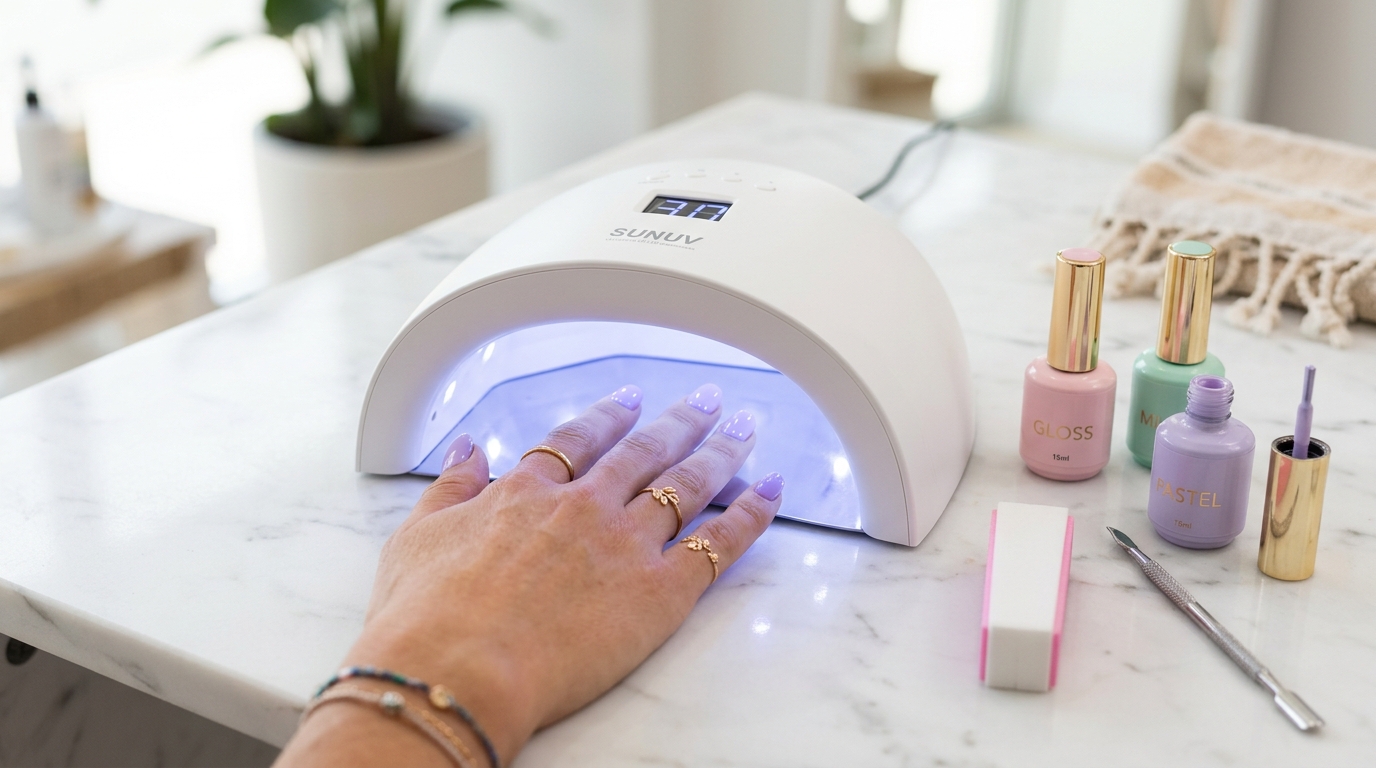 DIY Tutorial
 How to Do Gel Nails at Home: Step-by-Step DIY Guide
Achieve salon-quality 3-week wear at home. Covers curing lamp wattages, prep protocols, and zero-lifting secrets.
 Trends & Sizing
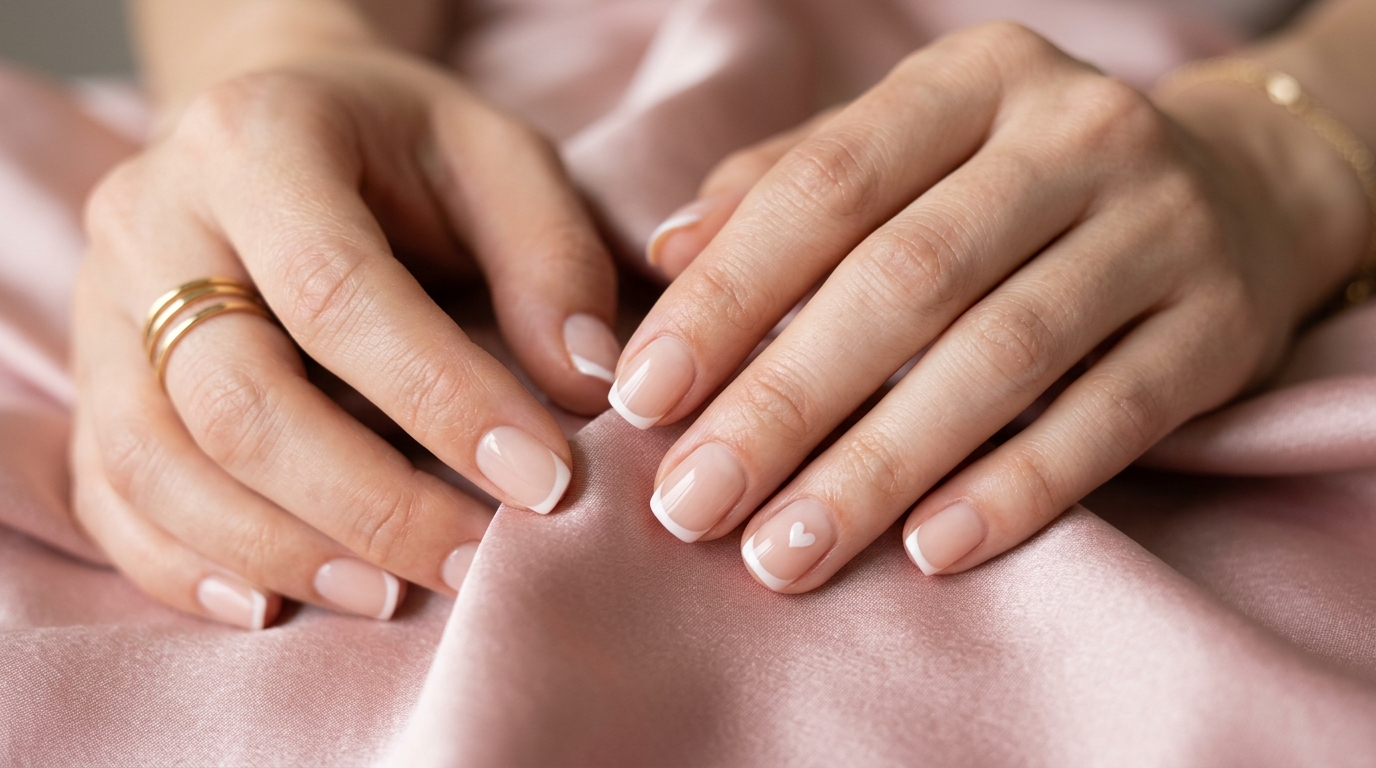
 Short Press-On Nails: Sizing Chart & 3-Week Application
Universal millimeter sizing chart for wide and petite nail beds, adhesive tabs vs. glue, and reusable tips.
 Product Guide
 Best Nail Glue for Press-Ons: Chemical Safety & Hold
Why household super glue damages nail beds, cosmetic ethyl cyanoacrylate chemistry, and gentle soak-off removal.
 Comparison Guide
 Acrylic vs. Gel Nails: Longevity, Damage & Cost Comparison
Head-to-head breakdown of polymer powder vs. oligomer resins, durability ratings, flexibility, and nail plate health.
 Style Diagnostic
 The Complete Nail Shapes Guide: Geometry, Strength & Hands
Find the most flattering shape for your fingers: Oval, Short Coffin, Round, Almond, and Stiletto engineering.
 Care & Recovery
 Nail Health & Recovery Therapy: Grow Long Natural Nails
Dermatologist-reviewed 4-week protocol to heal damaged, bendable, or splitting nails after enhancements.
Frequently Asked Questions
Expert-verified answers to common questions about techniques, products, and safety.
What is the best at-home gel nail polish for beginners?
The best beginner-friendly gel polishes feature smooth self-leveling viscosity, such as Gelish, Beetles, Madam Glam (certified vegan and HEMA-free), and DND. Look for formulations that clearly list chemical compliance and cure under standard 405nm LED lamps.
Why do my at-home gel nails peel off in whole sheets after two days?
Peeling in full sheets indicates a failure of adhesion caused by: failing to dehydrate the nail with 99% alcohol, touching the base coat to the cuticle skin, or washing hands with water immediately before applying gel.
Can I use 70% rubbing alcohol instead of 99% isopropyl alcohol?
No. 70% rubbing alcohol contains 30% purified water and moisturizing additives. Applying water to the nail plate immediately before gel application causes trapped moisture under the base coat, leading to premature lifting.
Why does my top coat lose its shine after a couple of days?
A dulling top coat usually happens when: the topcoat was under-cured (requires a full 60 seconds under 48W), wiped with alcohol when it was formulated as a no-wipe top coat, or touched before the polymer reaction cooled down.