Explore Expert Nail Guides & Trends See What's Trending
Guide saved to your personal reading list
Gel Nails

How to Do Gel Nails at Home: A Beginner’s Step-by-Step Guide

Master Salon-Quality 3-Week Wear Without Leaving Your House

Elena Rostova Editor-in-Chief & Master Nail Educator 15 min read
Verified by Elena Rostova • Master Nail Educator
How to Do Gel Nails at Home: A Beginner’s Step-by-Step Guide

Editor's Key Takeaway

"Learn the exact dry prep routine, lamp specifications, and application steps needed to do long-lasting DIY gel manicures at home without lifting."

1. The Professional Home Gel Arsenal: Essential Gear

Doing your own gel manicures at home can save over $1,200 annually while giving you total artistic freedom. However, purchasing a cheap $15 starter kit with a tiny thumb-sized USB light is the fastest path to lifting, peeling, and severe chemical skin sensitization.

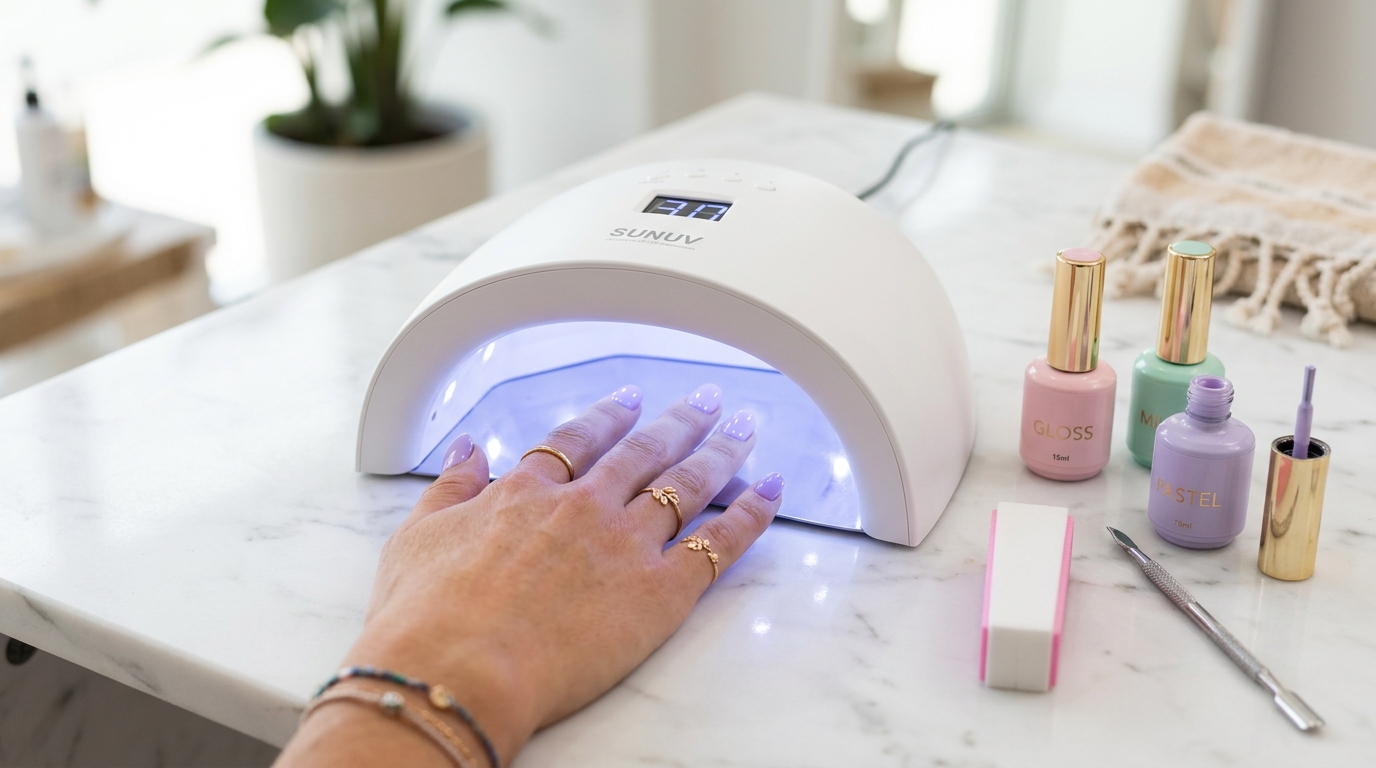
To achieve genuine salon results that last 3 full weeks, assemble the professional toolkit:

  • 48W+ Dual-Wavelength LED Lamp: Must feature 365nm and 405nm optical diodes arranged evenly across the ceiling and sidewalls, complete with a reflective mirror base plate to bounce light underneath the thumb and pinky.
  • 99% Pure Isopropyl Alcohol: Never use 70% drugstore rubbing alcohol, which contains 30% water that causes instant gel lifting.
  • Lint-Free Non-Woven Wipes: Cotton pads leave fuzzy micro-fibers that become permanently embedded in uncured base coat.
  • 240-Grit Foam Sponge Buffer & Czech Glass File: For gentle plate de-shining and smooth edge sealing without thinning natural keratin.
  • Rubber Base Coat & Tempered Top Coat: Rubber bases provide flexible shock absorption that moves naturally with your nail bed, preventing edge chips.
Interactive Salon Guide

How Gel Polish Cures: Interactive Salon Studio

Pick your favorite polish shade, then click "Cure Under Lamp" to see how LED light sets liquid polish into a rock-solid, glass-like shine in 30 seconds.

Select Gel Polish Shade:

Selected Shade: Ballet Slipper Pink

30s
State: Liquid Polish Layer Needs 30s Curing
💡

How It Works: Unlike standard nail lacquer that air-dries by evaporating solvents over hours, gel polish contains photo-reactive resins. When exposed to salon LED light, the molecules cross-link instantly—creating a flexible, chip-proof glass seal that lasts 3 full weeks.

2. The 3-Step Dry Cuticle & Plate Prep Routine

Follow Elena’s three-step dry preparation routine:

  1. Push the True Cuticle: Using a wooden orangewood stick, gently push back the proximal fold and scrape away dead, transparent pterygium film from the base of the nail.
  2. Micro-Etch the Shine: Buff the surface lightly with a 240-grit buffer in a single direction for 3 seconds per nail. You are removing surface lipids, not filing away plate thickness.
  3. The Squeak Test Scrub: Saturate a lint-free pad in 99% alcohol and scrub the nail plate vigorously. The nail should make an audible "squeak" sound, indicating total lipid removal.

Once dehydrated, never touch your bare nail plates with your fingers! The natural sebum oils from your skin will transfer onto the keratin, creating a microscopic barrier that causes the base coat to lift within 48 hours.

3. Step-by-Step Whisper-Thin Gel Application

Master the salon application technique:

  • Base Coat Floating: Apply a microscopic bead of rubber base coat, leaving a 1mm hairline gap from cuticle skin. Cure 30 seconds.
  • Two Thin Color Coats: Wipe one side of the brush on the bottle neck. Float a whisper-thin layer across the plate. Cap the distal free edge. Cure 60 seconds per coat.
  • Non-Wipe Top Coat: Apply an even layer, wait 5 seconds for self-leveling, and cure for a full 60 seconds. Your manicure is complete!

The cardinal rule of gel polish application is: two paper-thin coats will always outlast one thick coat. Thick layers block UV rays from reaching the bottom oligomers, leaving a pocket of toxic, uncured liquid trapped beneath a hardened surface film.

4. Critical DIY Safety: Avoiding Acrylate Allergies

The most important safety rule in DIY gel nails: Never allow uncured gel to touch your living skin. If gel floods your cuticle or sidewalls, wipe it away immediately with a brush dipped in 99% alcohol before placing your hand in the lamp. Once cured against living skin, uncured monomers can penetrate your bloodstream, triggering lifelong contact dermatitis and medical allergies to dental fillings and surgical adhesives.

Always cure your thumbs separately to ensure the nail plate sits completely parallel to the LED diodes. Curing thumbs at an angle while curing four fingers causes gel to pool into the lateral sidewall, resulting in under-curing and peeling.

Frequently Asked Questions

Reader Q&A • Expert Insights

Frequently Asked Questions

Expert-verified answers to common questions about techniques, products, and safety.

Why does my DIY gel manicure peel off in whole sheets?

Peeling in sheets is caused by oils remaining on the nail plate before base coat, gel touching the cuticle skin creating an air pocket, or using an underpowered lamp that failed to cure the base layer.

Can you cure gel polish with a regular desk lamp or sunlight?

No! Gel requires concentrated 365nm-405nm ultraviolet light at high optical wattage to trigger photoinitiators. Sunlight cures unevenly, causing wrinkling and trapped liquid.

How long should I wait after applying gel before washing my hands?

Once top coat is fully cured under LED, the polymers are 100% hardened. You can wash your hands immediately!